CLICK HERE FOR FREE BLOGGER TEMPLATES, LINK BUTTONS AND MORE! »

Thursday, January 10, 2013

Past Projects: Birthday Card #2

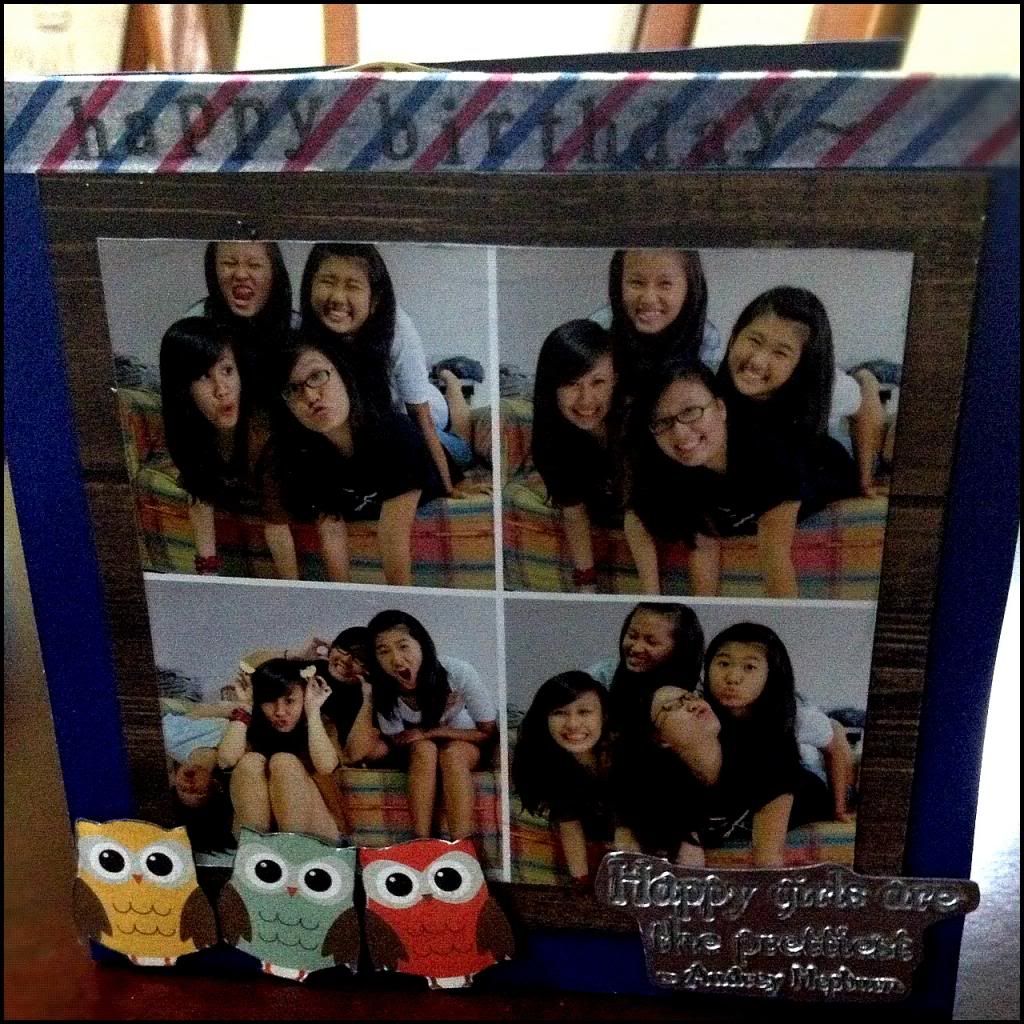
Hello all! It's been quite awhile for those...ahem...religiously following this blog (thank you very much if you're one of them!) I'll keep this post short, since I have a more exciting post that's supposed to appear after this one, provided I haven't been distracted by my student exchange planning or other things. So here's a birthday card I made for a very special friend (all my friends are special:P) and I'd say this card is special because it incorporates a photograph to the front of the page!

Past Projects: Birthday Card 2
Photobucket

Let me breakdown the card (and completely ruin the magic by overtalking):
Photos: It just so happens that this group of 4 girls have a weakness for taking multiple photo shots. And what makes these 4 shots work together is that they look candid (even though they aren't exactly candid). I find candid shots work very well in a series/set like this because it gives a sense of fluidity. It's almost as if you can sense our personality/fun-loving spirit jumping of the pages. The white border was easy to make, with a little help from photoshop(: And it breaks up the photos nicely, without standing out too much (as opposed too a black border). I then mounted it on a wood grain paper so that it will look rustic(:

Owls: I cut them out from a 12 by 12 paper from echopark. I LOVE THESE OWLS. I've been using them in quite a number of cards, including one that I previously displayed here in the first birthday card. I cut them out individually this time though, and stuck them using foam adhesive so they pop up.

"Happy Girls are the prettiest" sentiment: Basically, I've recently learnt how to use a heat tool and embossing powder after FINALLY investing in one.


Photobucket
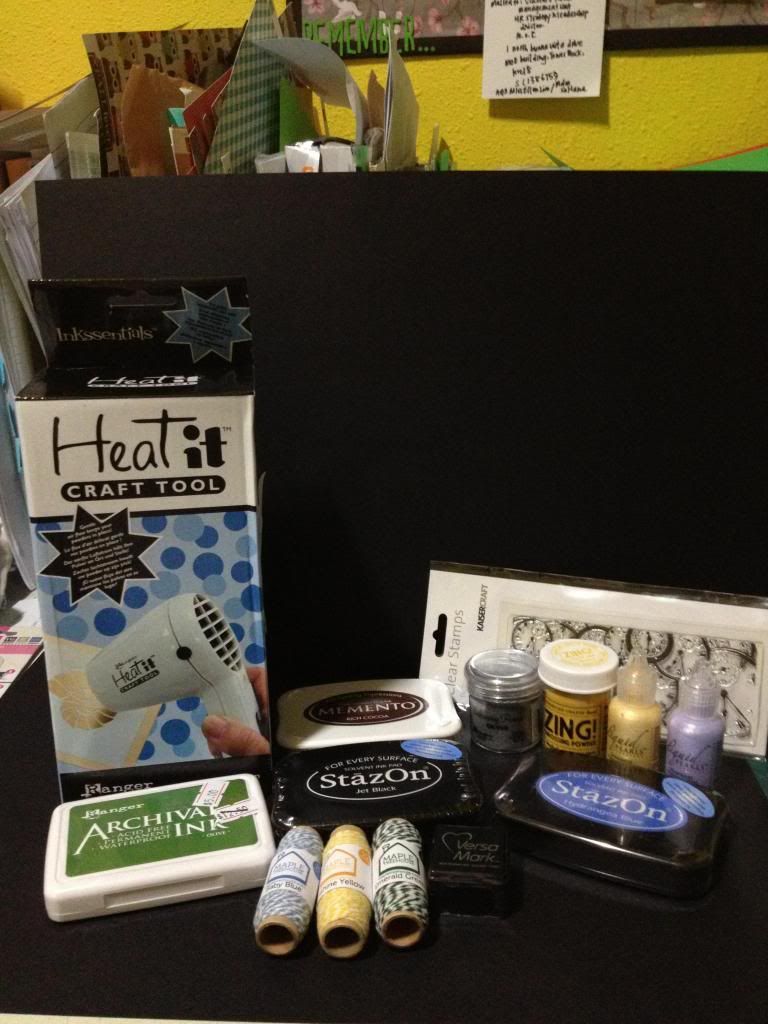
see my heat tool? it says "Heat it craft tool"! the rest of the items are a couple of things I bought after a trip to mapletreehouse at IMM.

So basically I've been trying out embossing with colour (the yellow bottle called Zing! by american crafts) and silver (the ranger silver embossing powder) and clear (Ranger Super fine detail clear embossing powder not featured here).

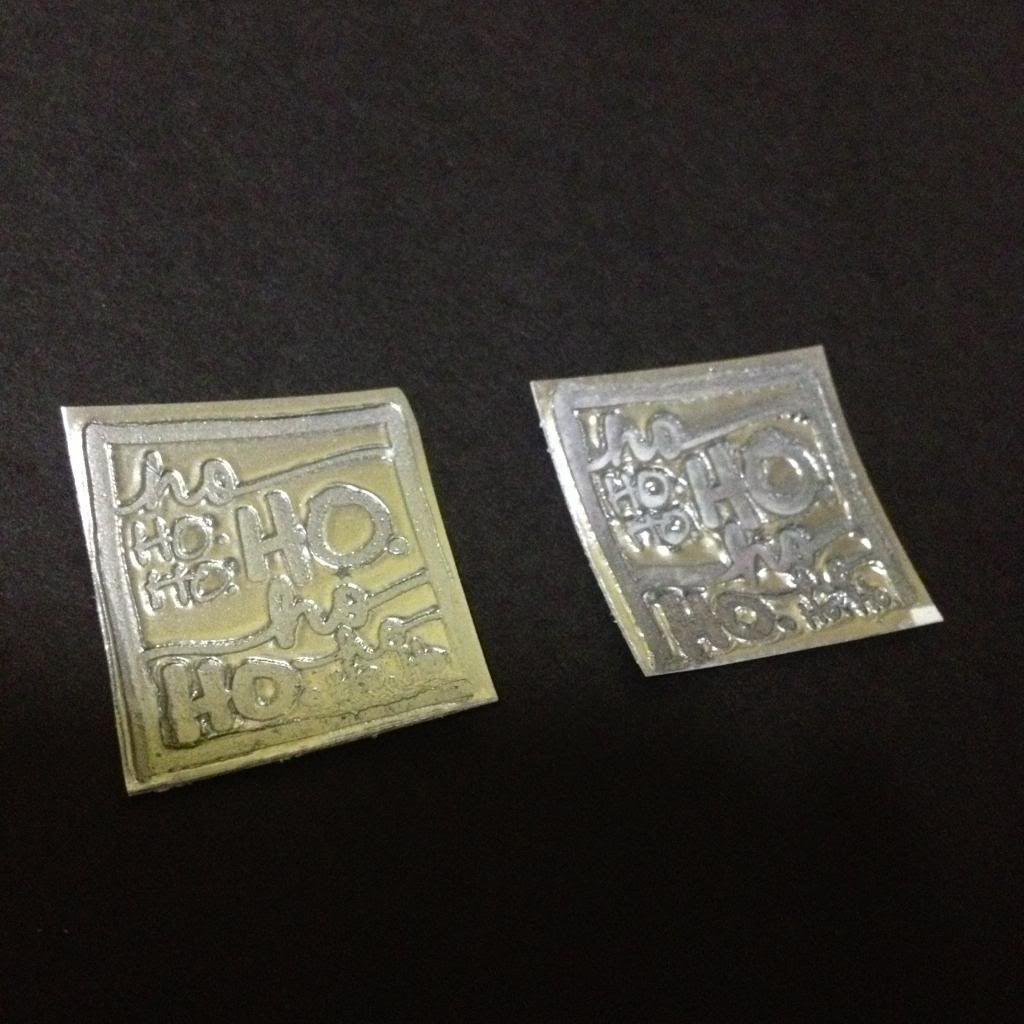
And I LOVE LOVE LOVE faux metal embossing, like how the phrase has been done. I'm kinda lazy to link up a youtube video that I watched that taught me how to do it, but basically it's layering a piece of paper with a few layers of silver embossing powder, heat setting each layer and then at the final layer while the powder is still all gooey and melty, you stamp the stamp into it, creating an indentation. It's magic, I tell you. GENIUS. 
haha. So i've been playing with that a lot, and it's what I did on some of my christmas cards too.
Photobucket
I'll probably do a more throrough demonstration when I talk about the christmas cards! CAN YOU BELIEVE THESE WERE FROM PAPER?? 
Yupp, so that's all for the card today. I'll be posting a review of one shop I ALWAYS frequent, either today or tomorrow, depending on the time, so do watch out for that too!
Wednesday, January 2, 2013

Past Projects: "Hello 2013" Card

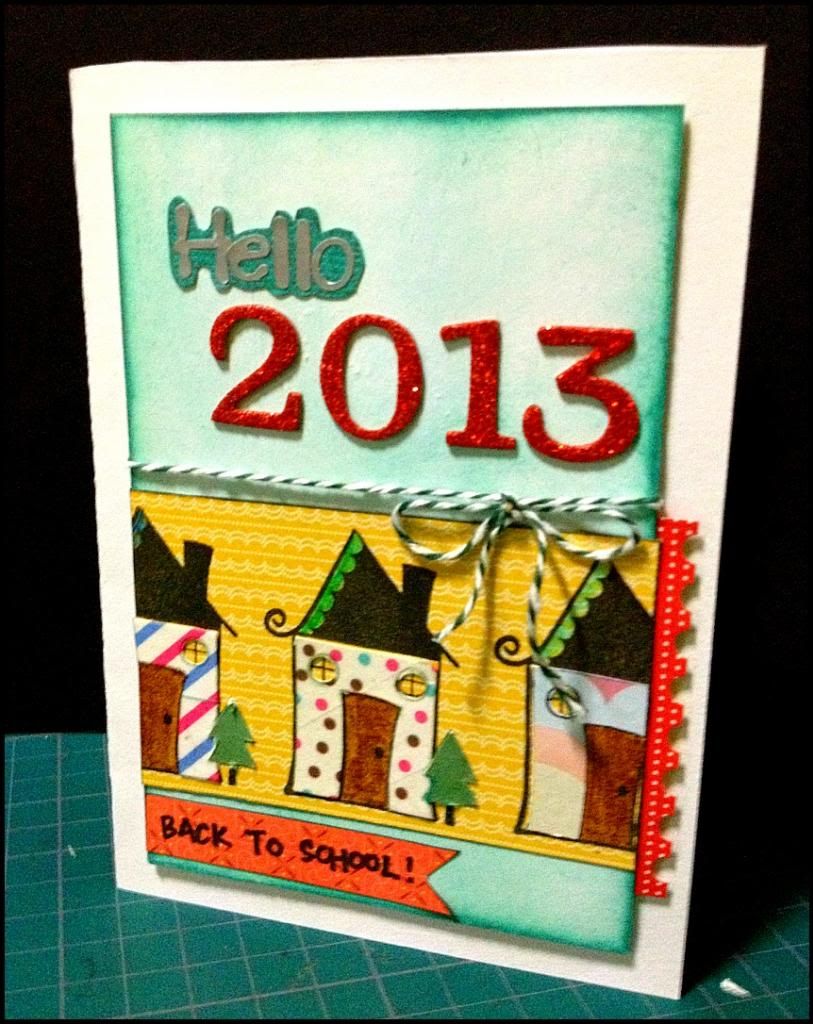
It's 2013 finally! Really cannot wait to go on my exchange. Once I'm on exchange in the UK though, this blog will probably be filled with travel scrapping pages...at least, as soon as I've cleared all the cards and other posts I've already promised to do. I can't wait for 2013, and as my sister returns to school today, I thought it would be nice to make her a card, to cheer her on! If any of you are UK readers (not quite sure if there are any), do drop a comment to let me know where are good places in the UK to get scrapbooking stuff!

"Hello 2013" Card
Photobucket

As you may be able to see, the top edge of the card is a little uneven, and that's because of a minor mishap that occurred while trying to trim it. Initially I intended there to be a 1cm margin around the edges, but after fiddling around with the centrepiece, I realised that a 1cm margin made the border look really bare. So I scaled it down, after I mounted the middle piece on with foam adhesive. which was a BAD IDEA. note to self (and others) :do any necessary pen knife cutting BEFORE pasting anything on the card base.
Photobucket
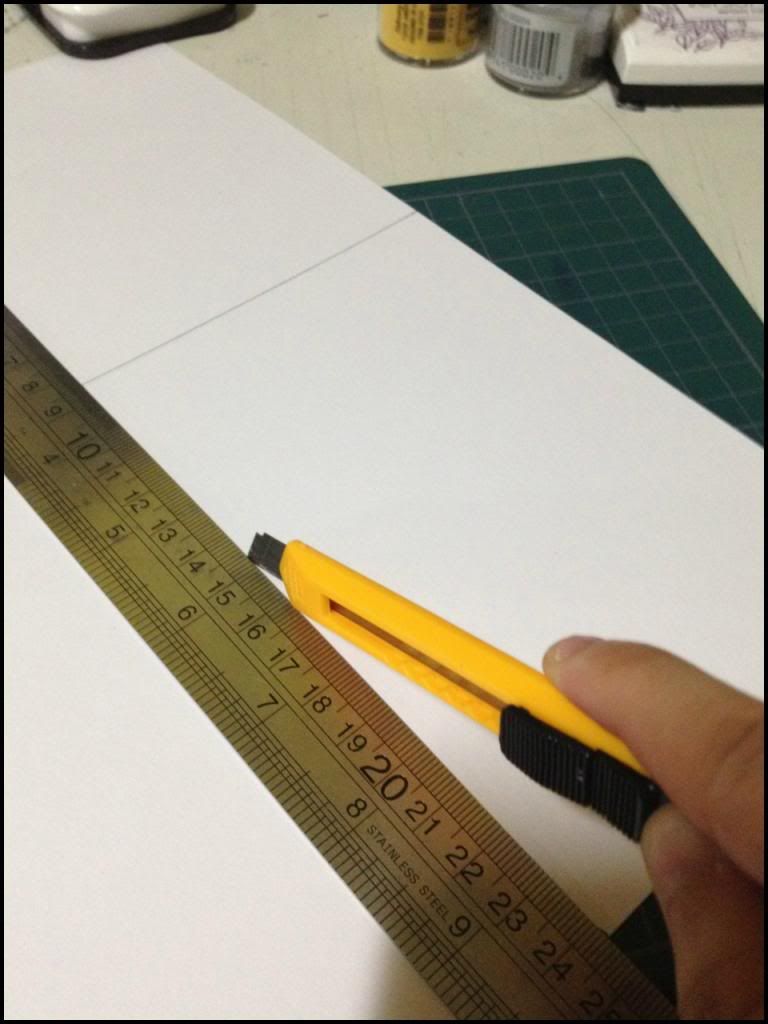
It took me a while to remember why I have this picture up. So, most professional card makers would use a scoring board to score their paper, and a cutting mat with proper lines to measure out the right size. Unfortunately for me, I'm a scrapper on a budget. So my tools are a ruler, a pencil and a penknife. It makes things more tedious, definitely. But it saves me loads of money! The cheapest scoring board I found costs about 50SGD, give or take. And my cutting mat is too small, since it cost only 2SGD from Daiso (probably will get a new one soon though!)

Anyway, the original card size was 10.5cm by 15cm. After scaling it down, it became 10cm by 14.6cm. The middle piece is 8.5cm by 12.8cm. (If anyone is remotely interested in numbers.)
Photobucket
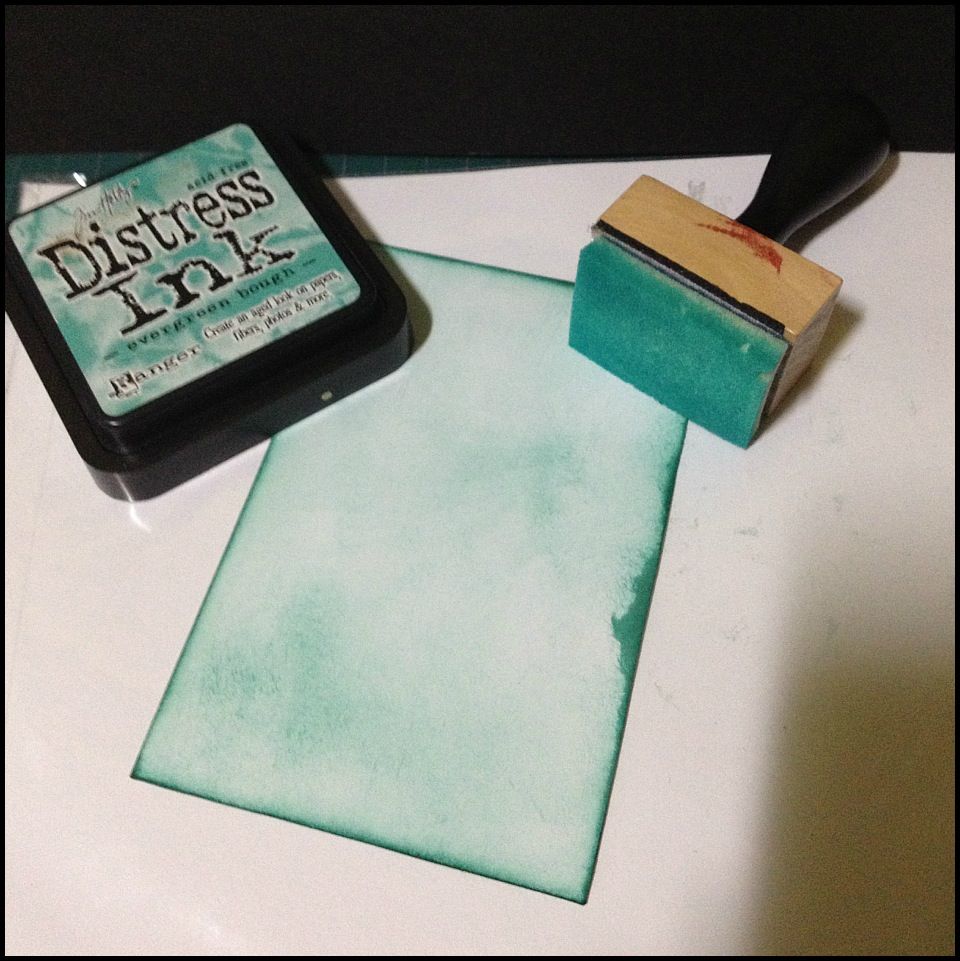
Initially I wanted the back ground piece to be patterned, But I decided not to waste paper, and I distress-inked the middle piece from the white A4 paper my card base is from. I only ever use "A'zone creative project cards 220gsm (and above)" they sell them in packs of 15, and from popular, each piece costs approx 15 cents. Which I find cheaper than buying the 12by12 plain cardstock. It's easier to keep and handle too. Anything less than 220gsm is a little too flimsy for cardmaking.
Photobucket
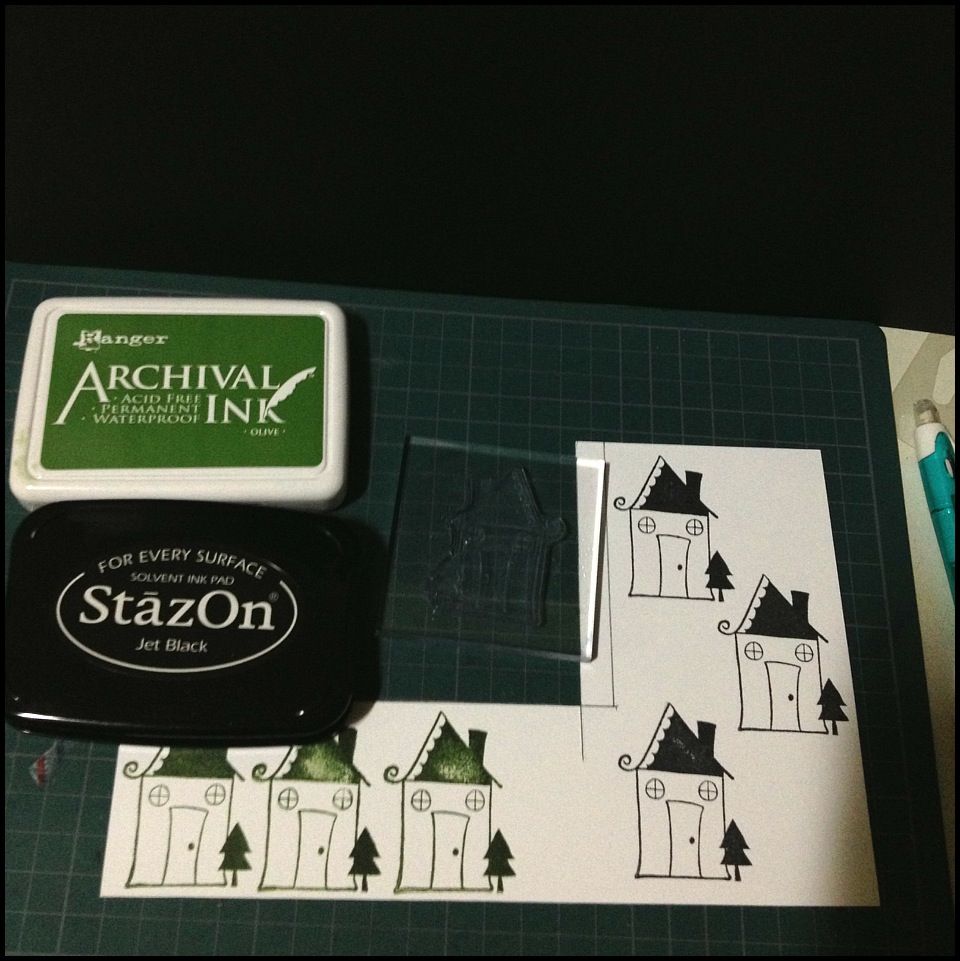
For the house part, I used this house stamp from a christmas stamp set, and stamped with the two inks shown. After stamping, I realised the house was rather difficult to cut, and so I decided to stamp the black houses straight onto the yellow patterned paper instead. The green houses were basically for me to cut out the green trees to paste them over the black ones, and to stick washi tape onto the white body of the house, cut that out and paste that over for a colourful effect.


2013 is looking to be a great year! I happened to find something interesting on instagram, from one of the many craft people I follow. They were coming with a "word for the year" (for their own year) and I thought I should come up with mine too, to use as the theme of the schedular that I'm gonna design on my own!
I'm thinking along the lines of exploration, since half of 2013 is going to be spent out of singapore. So far, I've got:
1. Risk
2. Take Chances (2 words I know, but it doesn't work with 1!)
3. Dare

But I haven't really found one that I really really like. So if you can help me out, that would be wonderful!!(: Leave a comment below if you can think of a word that kinda fits into what I'm thinking of! If your word is chosen by me in the end, you have my endless thanks and appreciation, and maybe even a reward!(: So do try and help me, I'm a little stuck(: Thanks!