Past Projects: Birthday Card 2
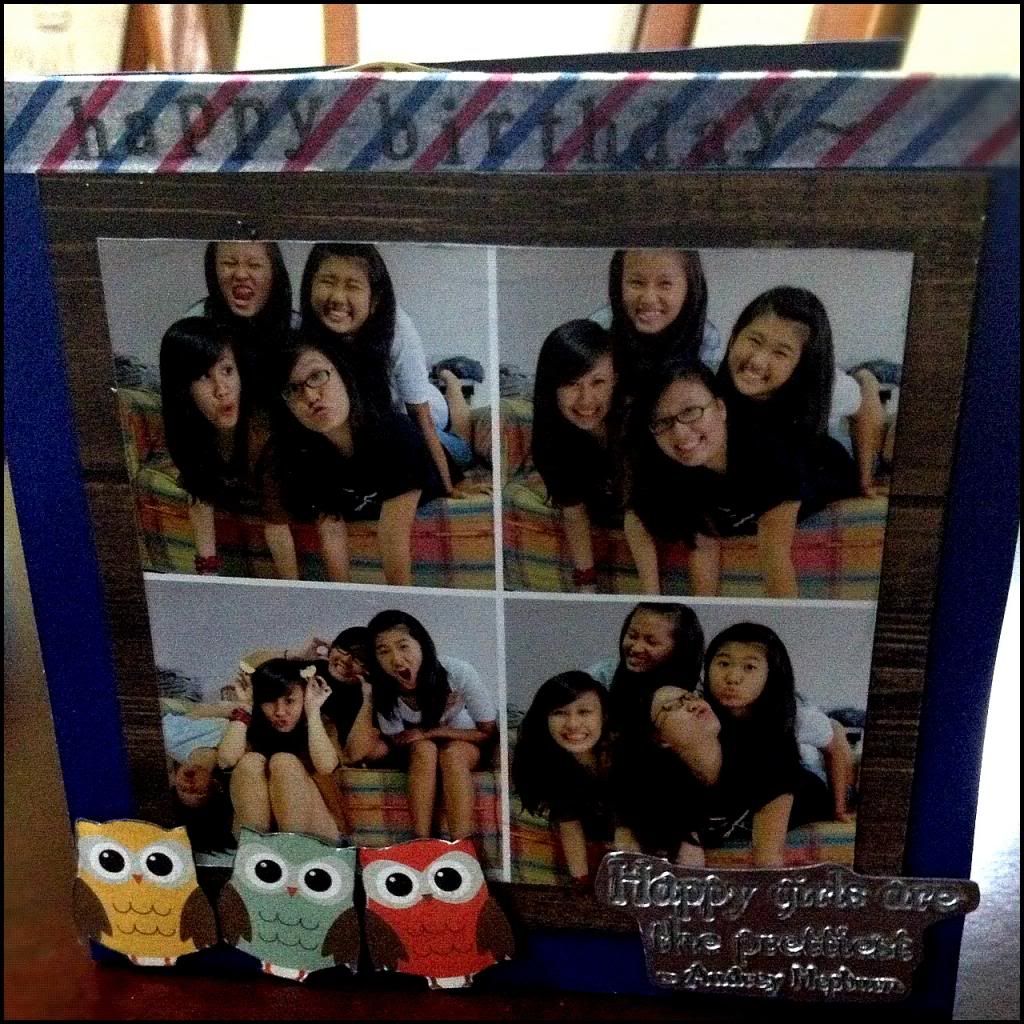
Let me breakdown the card (and completely ruin the magic by overtalking):
Photos: It just so happens that this group of 4 girls have a weakness for taking multiple photo shots. And what makes these 4 shots work together is that they look candid (even though they aren't exactly candid). I find candid shots work very well in a series/set like this because it gives a sense of fluidity. It's almost as if you can sense our personality/fun-loving spirit jumping of the pages. The white border was easy to make, with a little help from photoshop(: And it breaks up the photos nicely, without standing out too much (as opposed too a black border). I then mounted it on a wood grain paper so that it will look rustic(:
Owls: I cut them out from a 12 by 12 paper from echopark. I LOVE THESE OWLS. I've been using them in quite a number of cards, including one that I previously displayed here in the first birthday card. I cut them out individually this time though, and stuck them using foam adhesive so they pop up.
"Happy Girls are the prettiest" sentiment: Basically, I've recently learnt how to use a heat tool and embossing powder after FINALLY investing in one.
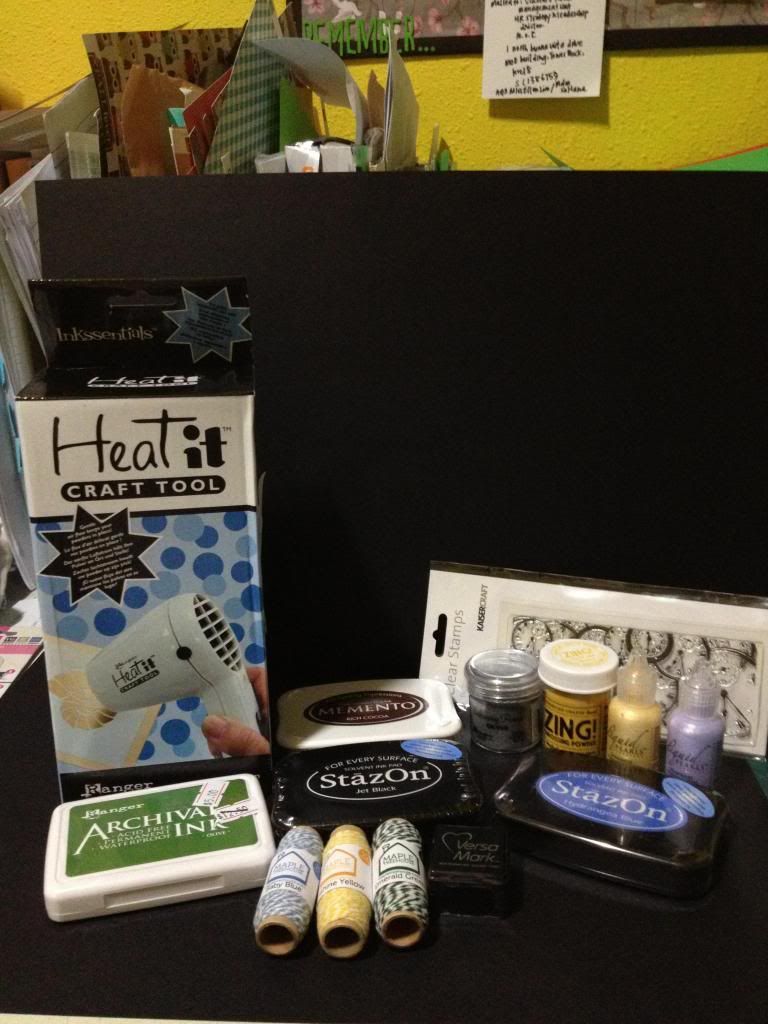
see my heat tool? it says "Heat it craft tool"! the rest of the items are a couple of things I bought after a trip to mapletreehouse at IMM.
So basically I've been trying out embossing with colour (the yellow bottle called Zing! by american crafts) and silver (the ranger silver embossing powder) and clear (Ranger Super fine detail clear embossing powder not featured here).
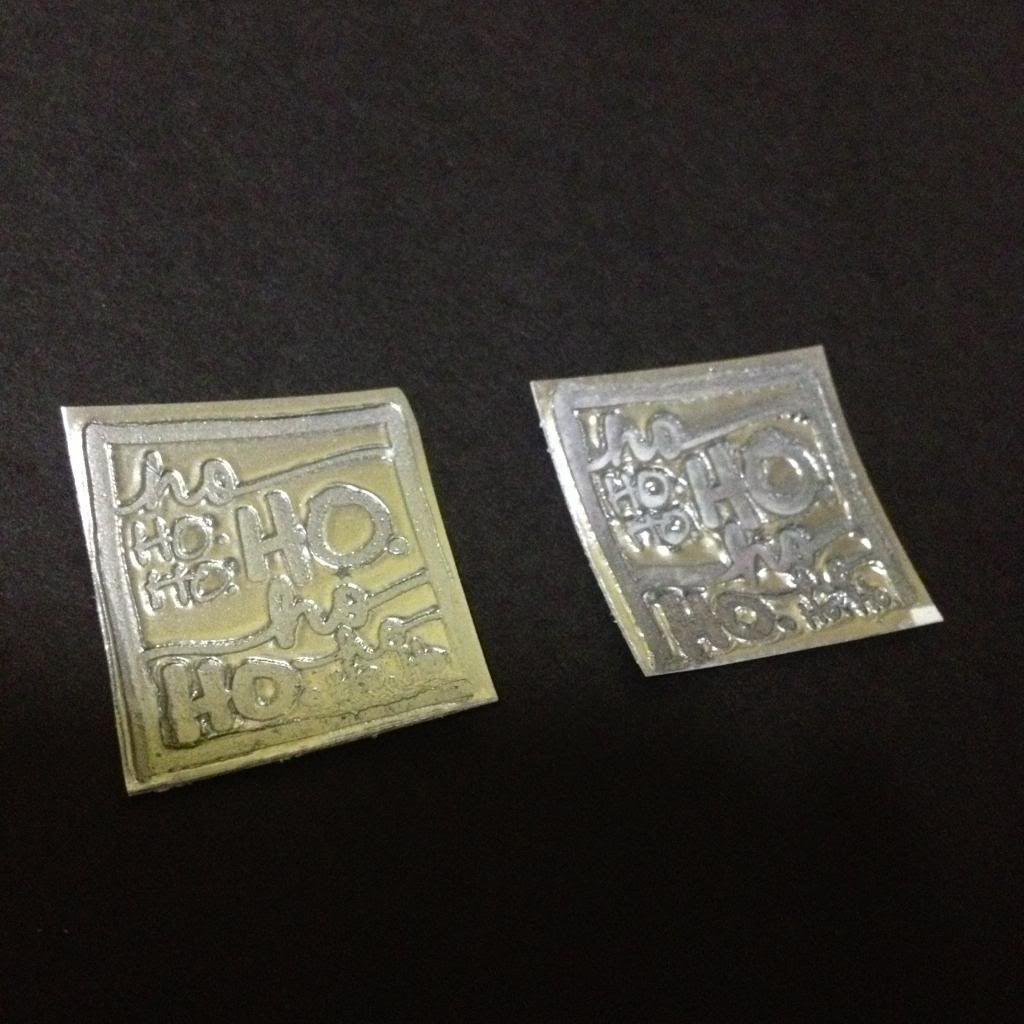
And I LOVE LOVE LOVE faux metal embossing, like how the phrase has been done. I'm kinda lazy to link up a youtube video that I watched that taught me how to do it, but basically it's layering a piece of paper with a few layers of silver embossing powder, heat setting each layer and then at the final layer while the powder is still all gooey and melty, you stamp the stamp into it, creating an indentation. It's magic, I tell you. GENIUS.
haha. So i've been playing with that a lot, and it's what I did on some of my christmas cards too.
I'll probably do a more throrough demonstration when I talk about the christmas cards! CAN YOU BELIEVE THESE WERE FROM PAPER??
Yupp, so that's all for the card today. I'll be posting a review of one shop I ALWAYS frequent, either today or tomorrow, depending on the time, so do watch out for that too!


0 comments:
Post a Comment